Beaming On – The art of the warp spreader
For those of you involved in weaving cloth, purchasing your preferred warp yarn is just the start of the yarn manipulation process, as the quest begins for a perfect back beam, also referenced as ‘beaming on’. For small sample warps of up to approximately 3.2 yards, with the help of a friend pulling manually on the warp ends, you can manage to roll the threads in a fashion that at best, may be adequate and at worst result in broken ends and a bird’s nest!
The solution to the problem of even warp tension is to control the threads using the ancient craft of the warp spreader. This skill allowed the warp to be removed from the mill in a chain or on a warp stick and then, with aid of the beamer drum, get the threads onto the beam all at the same tension.
Read Warping the Threads of Time to learn about the Warping process, which takes place prior to Beaming On.
The warp is made up of many sections, or “portees”, as the warp threads are accumulated on the mill. The “portee” could be any number of ends, preferably even numbers, consisting of upto 96 bobbins on a creel. A narrow width silk warp of 53.5 cm (21 inches) could require 4992 ends in the width, by running a creel of 96 bobbins back and forth 52 times to get the number required. The portees must be tied up individually whilst on the mill to keep the risk of slippage off the mill to a minimum. Traditionally warps were “chained off” by pulling off the entire core of assembled threads from the mill and looping the warp over the hand continuously to form a loose chain which shortened the length for the ease of handling. The method worked well for lengths of warp up to around 40 yards but holding the warp under tension manually as the core of threads were plaited off became more difficult for longer lengths. The answer to this was to wind the warp onto a holding arrangement known as a “warp stick”. This was a flanged broad bobbin enabling the warper to wind off continually, direct from the mill in a folding method to lay the warp core as neatly in a slight traverse from one side of the flange to the other. This would enable a two piece (120 yards) length to be warped and wound off in a safer way than chaining off.
When the warp is safely wound onto the warp stick it is ready to wind back onto the beaming drum. This mechanism is a horizontal timber drum constructed on a centre spindle so it freely rotates. To tension the drum whilst spreading the warp, weighted leather straps are suspended around the diameter. A warp spreader was a specialist trade, the art of putting the correct number of threads onto a back beam in the loom all at an even tension was a craft occupation.
The success of the beaming depended not only on these hand skills but on the amount of length you could spread between the drum and back beam. The length needed was important to keep all threads evenly tensioned and the success of this process was to have a great impact on the weavers challenge to weave perfect cloth. On extra wide cloths of 63 inches, such as those made by Daniel Walters in the early 19th Century, the beamer would have double drums to allow for the wider spread required.
The warp can now be wound onto the beaming drum in reverse by attaching the warp ends to a rope wound around the drum. The rope will allow the entire length of the warp to be wound on the beam by allowing the cross end of the warp to reach the raddle face. The warp must be neatly rolled onto the beamer drum with the threads in their gathered state so that they do not pull over one another. In order to spread out the threads the “portees” (sections) need to be put in order and divided equally across the width planned. This requires the use of a raddle which resembles a large comb to keep the threads aligned whilst winding onto the beam. The threads are retained by a cap on the raddle, which keeps the threads in the slots used.
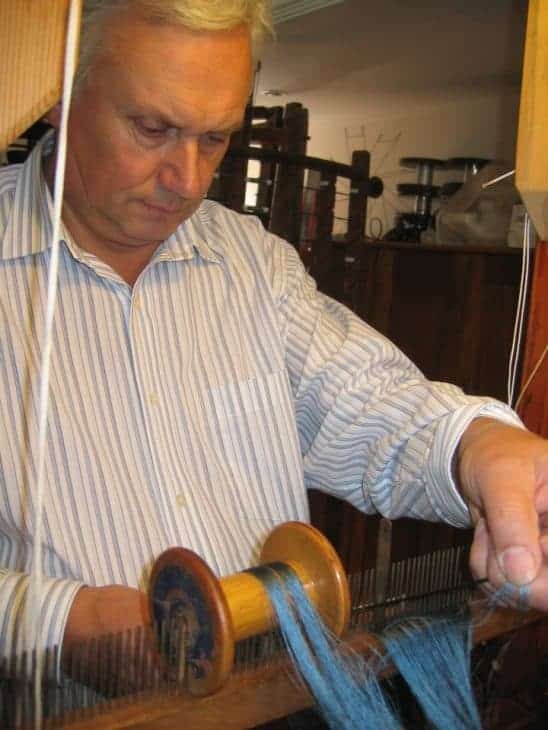
Richard spreads out the “portees” in the raddle
When the threads are spread in the raddle and the cap is in place over the pins, the portee ends which are spread on a “dweet” are attached to the back beam. A “dweet” is a steel rod used to accommodate the required width. The beam may now be slowly wound around to pull the warp forward and onto the back beam. The beam is held in position on the beamer stand which enables the back beam spindles to revolve in bearings. The beam is wound by a hand driven gear attached to the beam which pulls the warp on. As the warp winding proceeds the raddle is placed back to allow progress and wind on. Side way traverse on the beam is achieved by moving the raddle from left to right. This traverse levels out the uneven build-up on the beam. Regular papers should be inserted which are at least a revolution of the beam in length. The purpose of the paper is to even out any different warp yarn tensions that may have built up during the process. Also paper collars are used on the edges of the warp to keep the edges level on the beam.
Over tensioning the warp edges in beaming can spoil the weaving process as the threads will unravel slacker than the central ones making for a bow in the fell of the cloth at the reed’s edge. The attention to this process cannot be over stated. Difficulties in this beaming-on process occur when threads in the raddle divisions snag with one another if they have any slackness. Therefore each forward movement of the raddle must be carried out with caution as a broken thread could be lost out of the warp sequence.
The portees are seen in the raddle
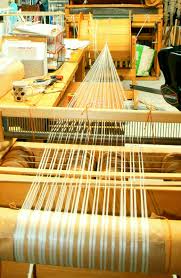
This process was superseded in the 19th Century in most weaving operations, by the invention of the sectional warper and beamer. This new equipment allowed for much longer lengths to be warped and beamed off in one process. Threads wound onto bobbins would be run in sections laid side by side onto the horizontal drum. When the width was complete the section ends would be attached to the back beam from the loom and wound off from the mill.
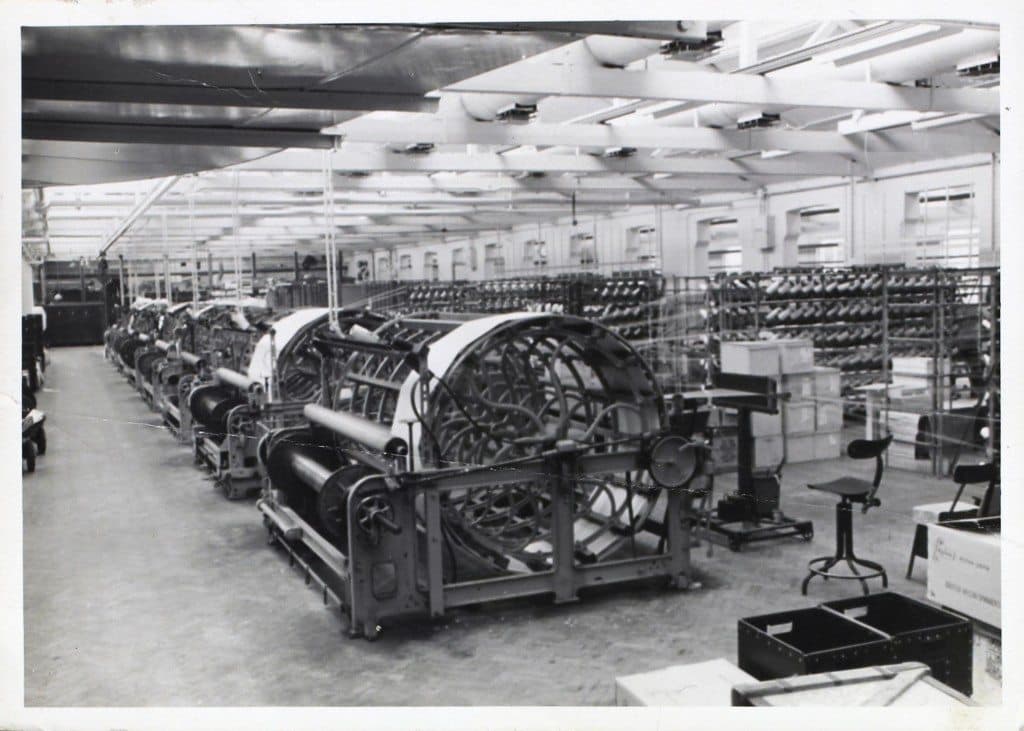
19th Century combined sectional warper and beamer machines